Overview
UniBee supports fully customizable checkout pages, enabling merchants to tailor the visual style, form structure, and display logic of the checkout flow. This is especially useful for scenarios requiring branded user journeys, region-specific compliance (e.g. different tax logic), or embedding within existing websites or apps. This guide covers how to manage checkout templates, assign them to product plans, and configure layout and functional elements via UniBee’s admin console.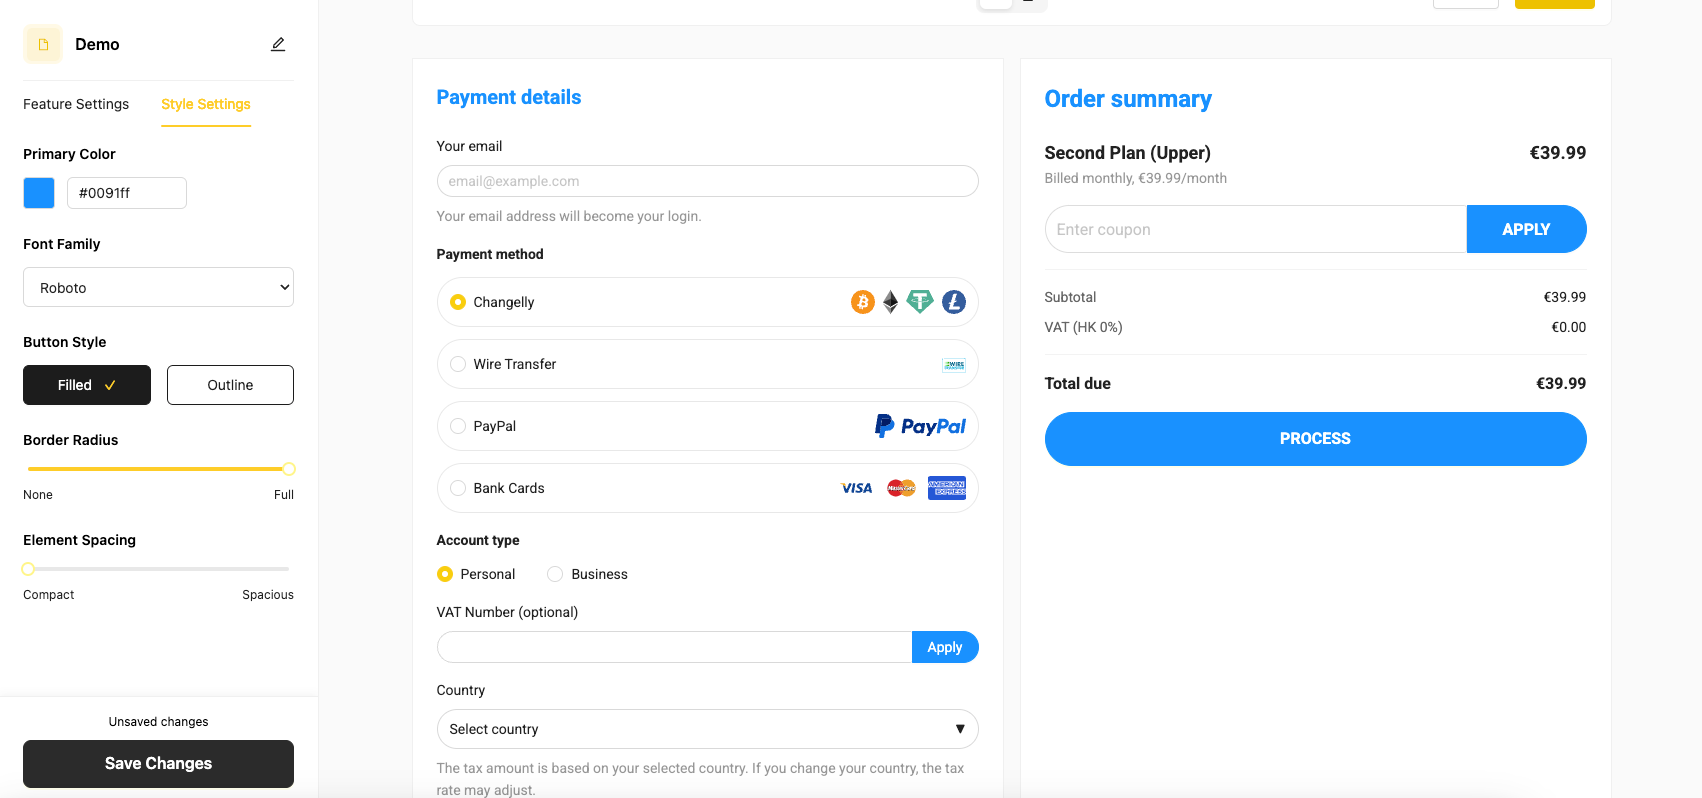
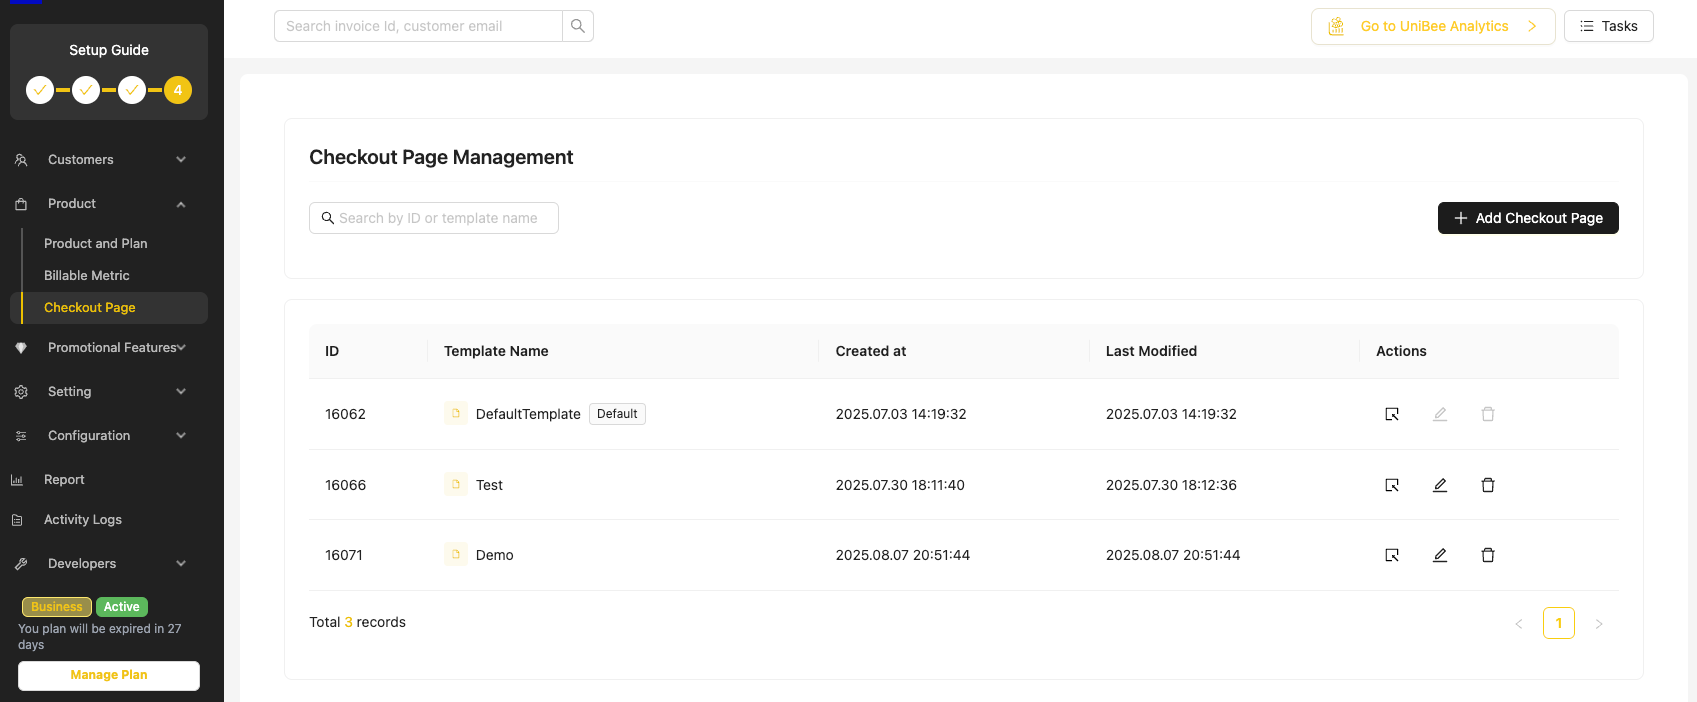
Navigation & Access
- Navigation path:
Product > Checkout Page - Access control:
- Trial users: View-only access to the default template
- Paid users: Full CRUD access to all custom templates
Template Management
Template List
All templates are listed with the following fields:- Template name
- Creation date / last modified date
- Status:
DraftorPublished
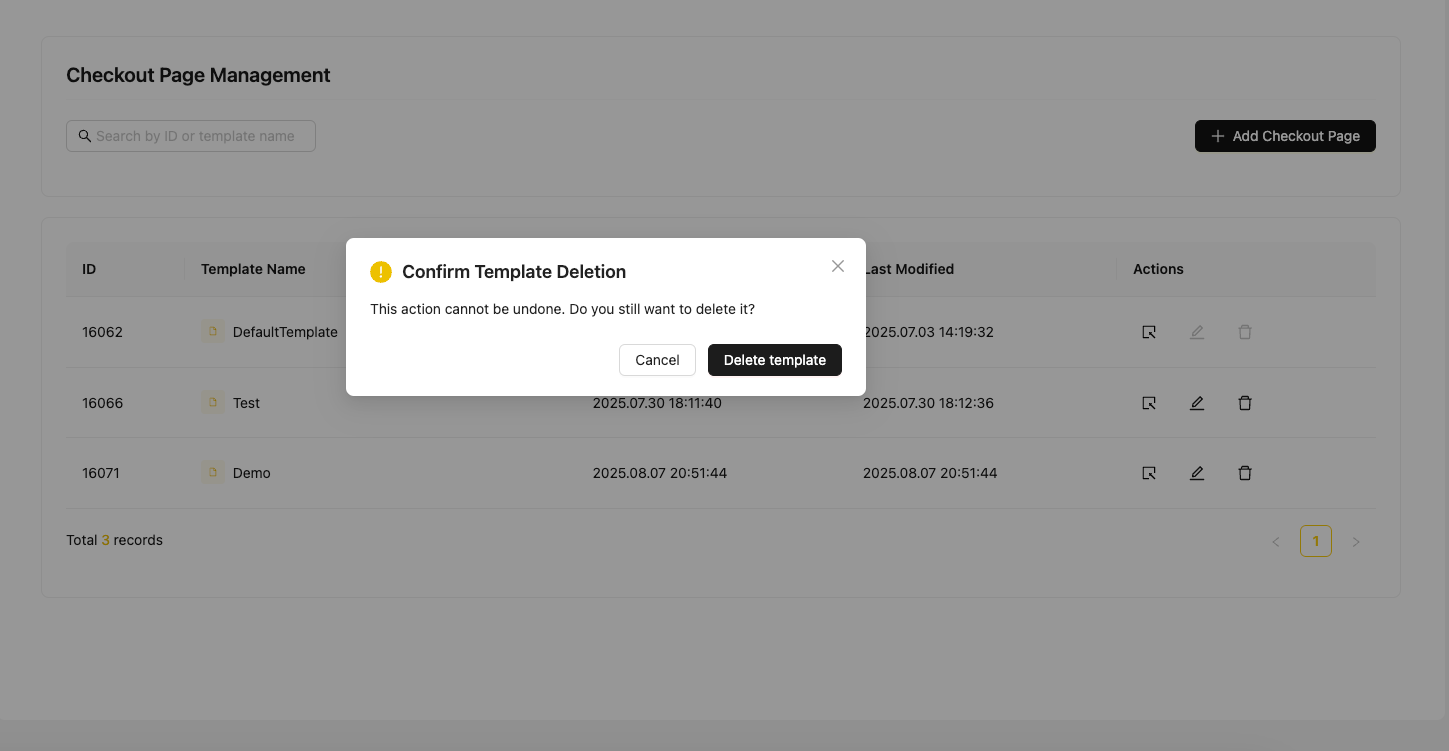
Template Operations
| Operation | Description |
|---|---|
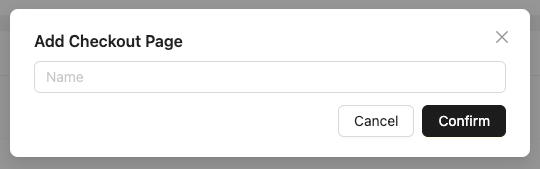
| Create | Click Add Template to launch the creation wizard |
| Edit | Modify any field, preview changes in real time |
| Save | Draft changes are stored without affecting published template |
| Publish | Confirm to apply latest changes |
| Delete | Only allowed when template is not linked to any plan (confirmation required) |
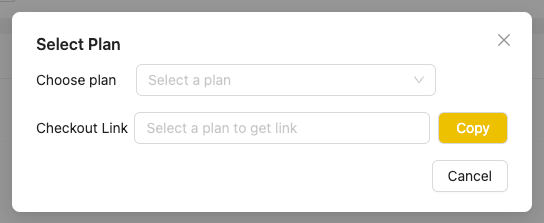
Assigning Templates to Plans
Each product plan can be optionally linked to a checkout template.- Field:
Checkout Page Template - Location: Plan creation / edit form
- Behavior:
- If selected: the assigned template is rendered at checkout
- If not selected: the default template is used
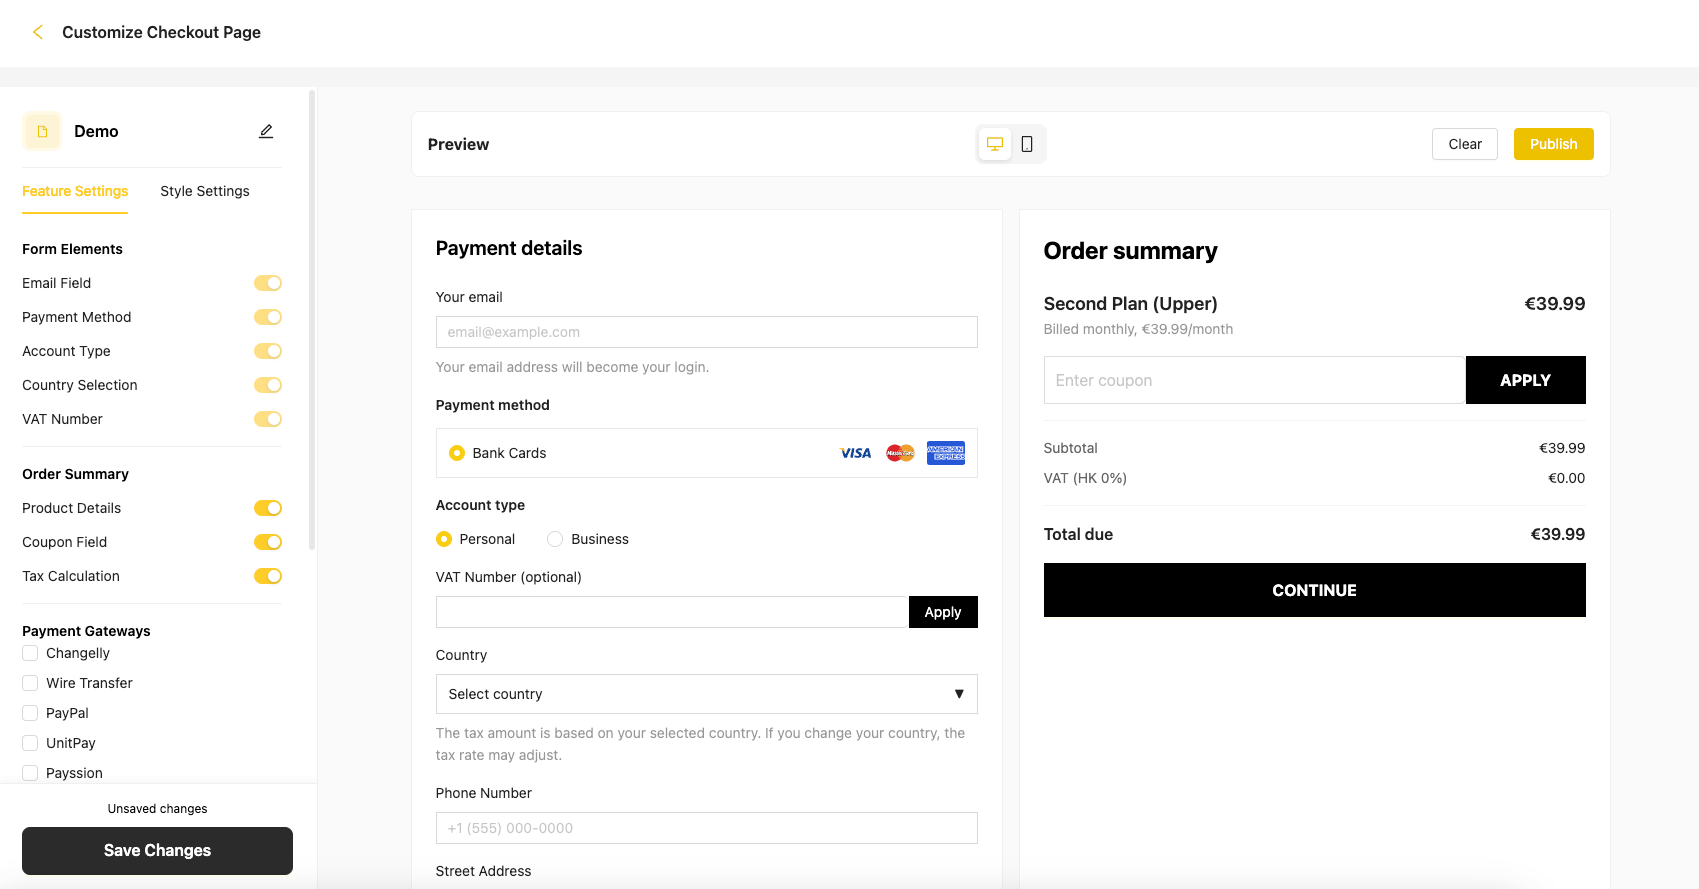
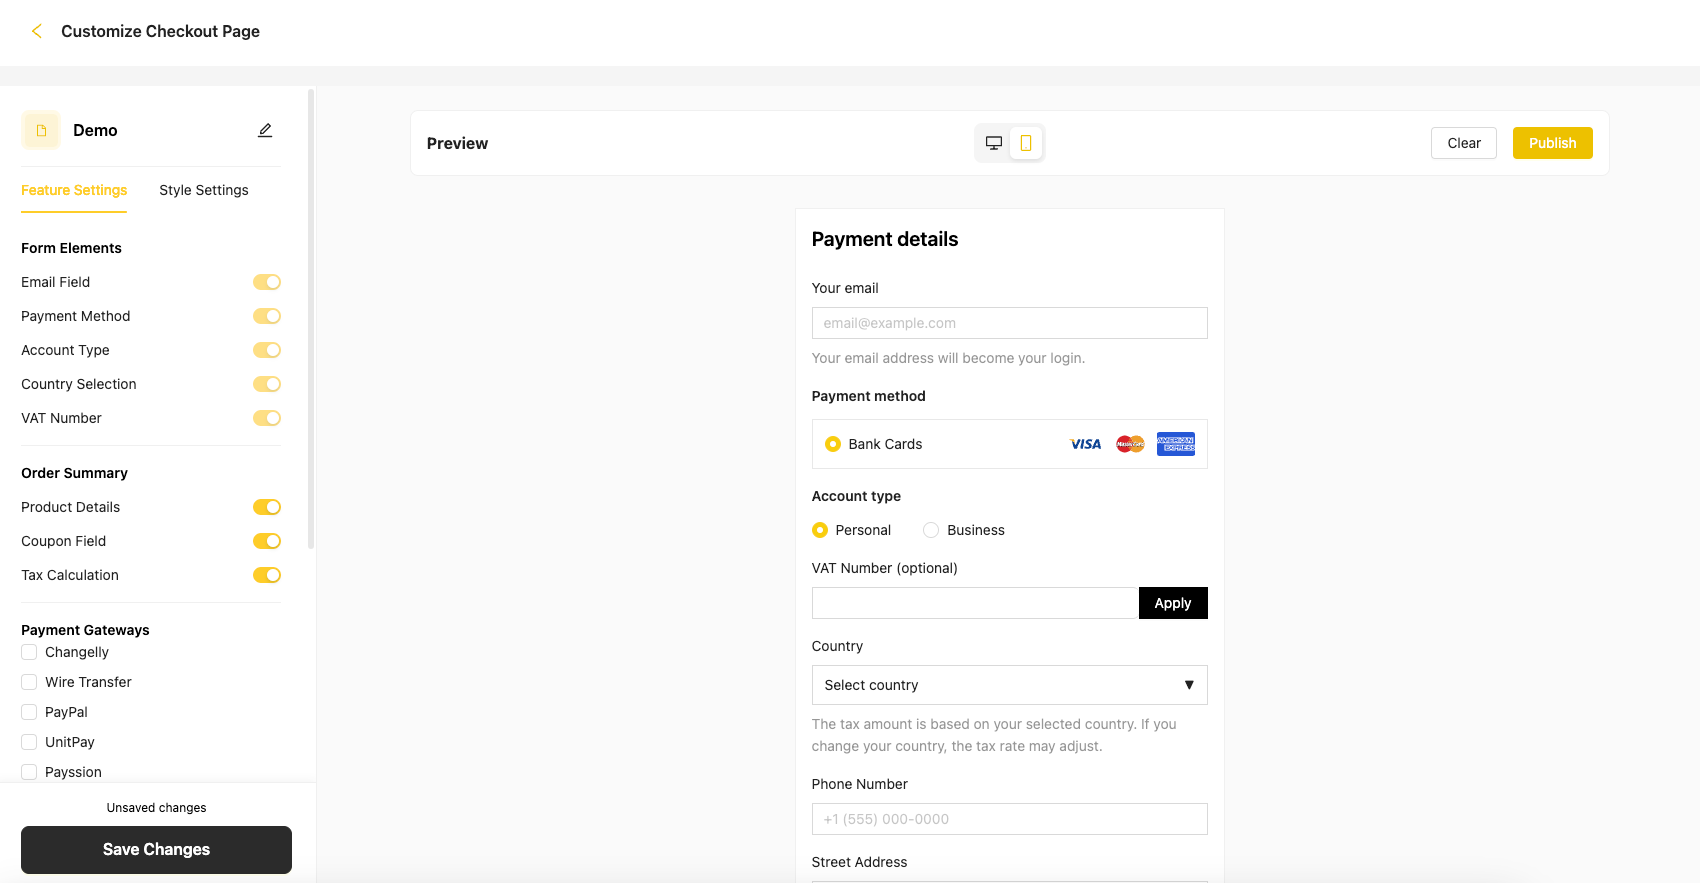
Template Configuration
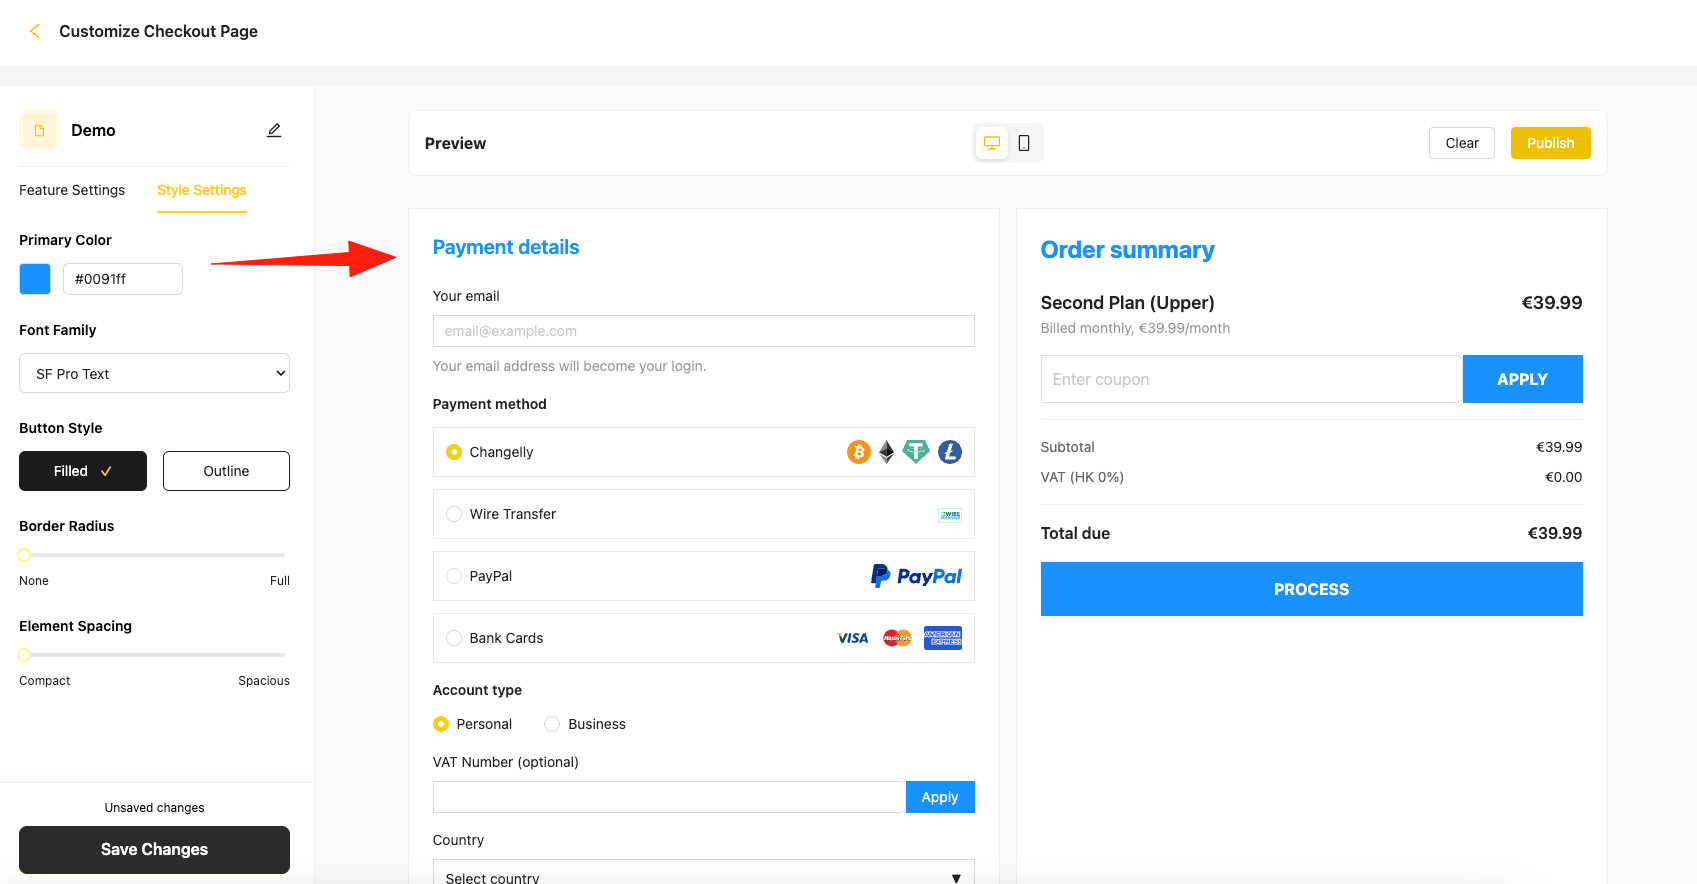
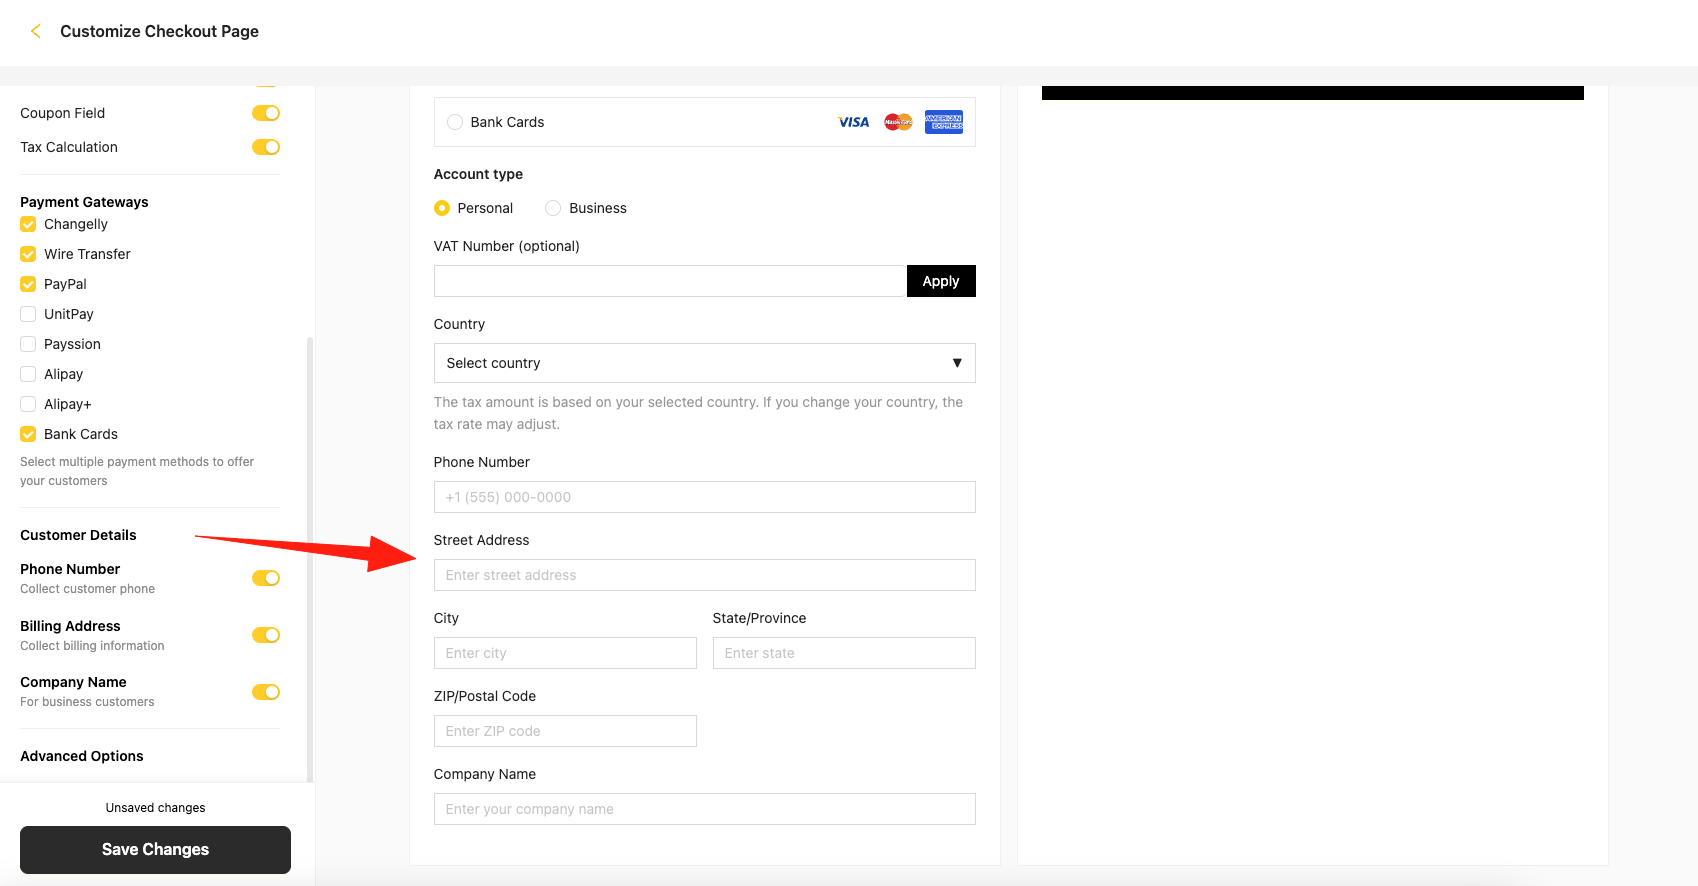
Templates consist of two main configuration tabs:Feature Settings
Controls the fields and logic within the checkout form.Form Elements
| Field | Type | Notes |
|---|---|---|
| Input | Required, format validation | |
| Payment Methods | Multi-select | At least one required (e.g. Stripe, PayPal) |
| Account Type | Radio | Personal / Business — triggers VAT fields |
| Country | Dropdown | Affects tax logic |
Order Summary
- Product details: name, price, billing cycle
- Coupon field: user input + apply button
- Tax: automatically calculated and displayed (e.g. VAT(HK) 0% €0.00)
Customer Details
- Phone number (optional)
- Billing address (optional)
- Company name (optional, required for business accounts)
Advanced Controls
- Submit button text (e.g. “Continue”, “Start Now”)
- Toggle banner / footer display
Style Settings
Adjust font, color, spacing, and layout settings to match brand identity. Live preview is provided alongside configuration for immediate feedback.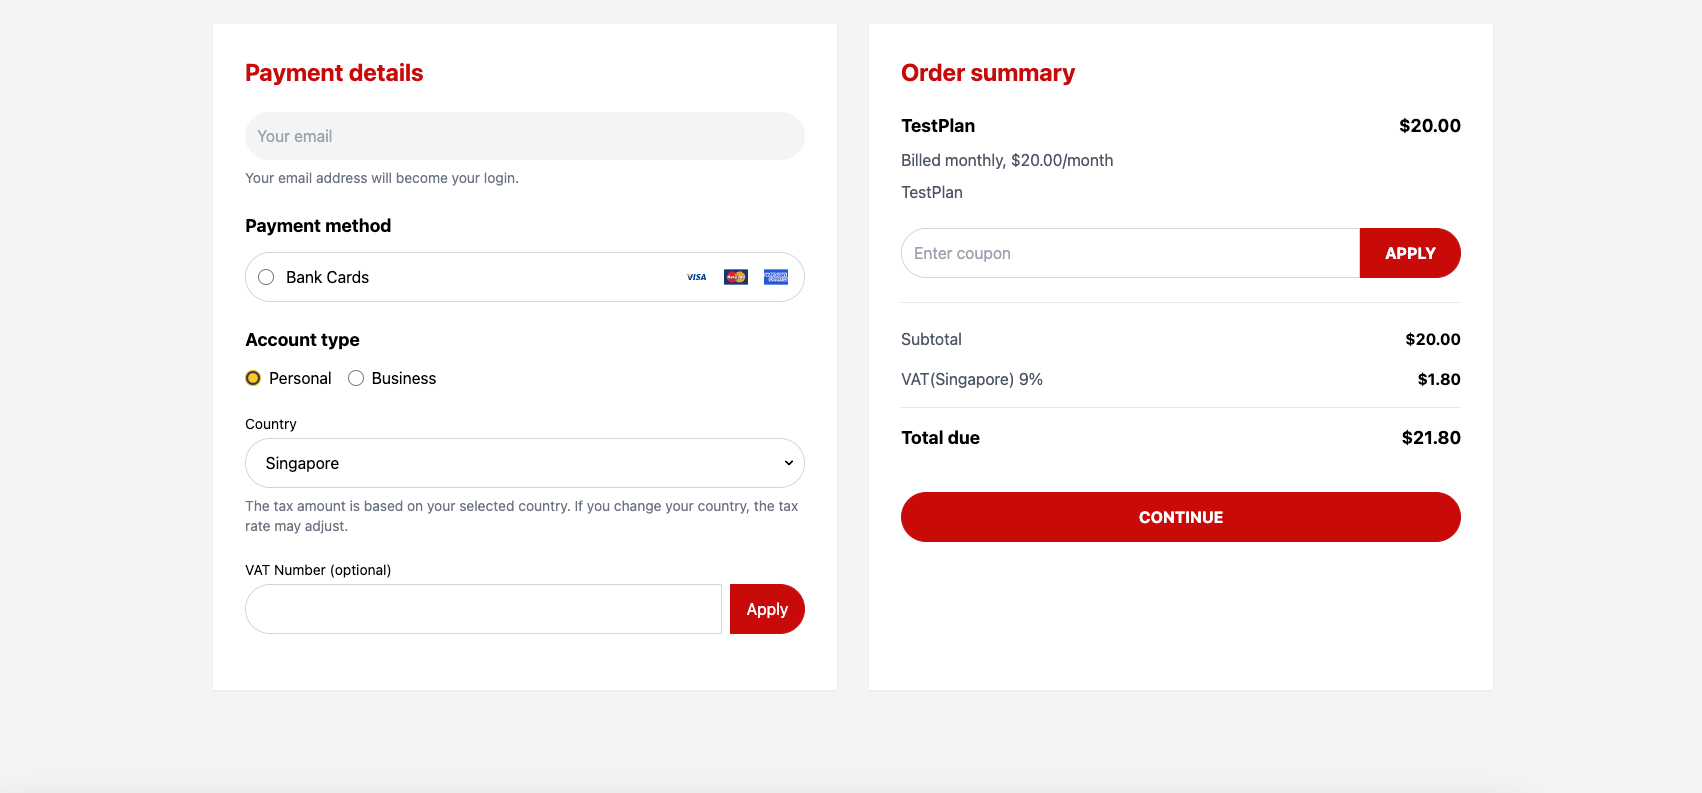
Business Rules
- At least one payment method must be selected
- Email is mandatory and format-validated
- Country selection dynamically triggers tax recalculation
- Business account selection forces VAT + company fields
- Coupon logic triggers real-time price adjustment
Technical Specifications
Frontend
- Fully responsive (desktop + mobile)
- Real-time configuration preview
- Status management (draft vs. published)
Backend
- All template data is encrypted at rest
- Strict separation between edit and publish environments
- Template load performance: < 1.5s
Security
- Trial and paid user access clearly separated
- Deletion of in-use templates is restricted
- Merchant data is isolated per account
UX & Interaction
- Saving a draft does not affect live templates
- Publishing requires confirmation modal
- Deleting prompts warning and is blocked if linked to any plan
- Required fields are marked with red asterisk (
*) - Real-time success/failure messages are shown for all actions
Best Practices
- Start with a draft: Always create and test templates in draft mode before publishing
- Test thoroughly: Preview templates on different devices and screen sizes
- Keep it simple: Avoid overly complex layouts that might confuse users
- Brand consistency: Use your brand colors and fonts consistently
- Mobile-first: Ensure templates work well on mobile devices
- Performance: Keep customizations lightweight to maintain fast load times
Troubleshooting
- Template not appearing: Check if the template is published and assigned to the plan
- Changes not reflecting: Ensure you’ve published the latest draft changes
- Cannot delete template: Verify the template is not linked to any active plans
- Preview not working: Clear browser cache and refresh the page