Email Settings Configuration Guide
Overview
The Email Settings module allows you to configure how the system sends automated emails to your users. This includes transactional emails like subscription updates, payment confirmations, invoices, and system notifications. You can connect your own email provider (via SMTP or SendGrid), customize email templates, and monitor delivery status.💡 Use Cases
- Brand Identity: Customize the “Sender Name” so emails appear to come directly from your company (e.g., “Acme Support” instead of a generic “No-Reply”).
- Reliable Delivery: Configure a dedicated SMTP server (like Gmail, Outlook, or AWS SES) to ensure critical transactional emails don’t end up in spam folders.
- Localization: Create email templates in multiple languages (English, Spanish, Chinese, etc.) to automatically serve a global user base in their native language.
- Auditing: Track every email sent to users (Success/Fail status) to troubleshoot delivery issues or verify user claims.
Step-by-Step Configuration
1. Global Settings (Sender Information)
First, define who the emails are coming from. This is what your customers will see in their inbox “From” field.\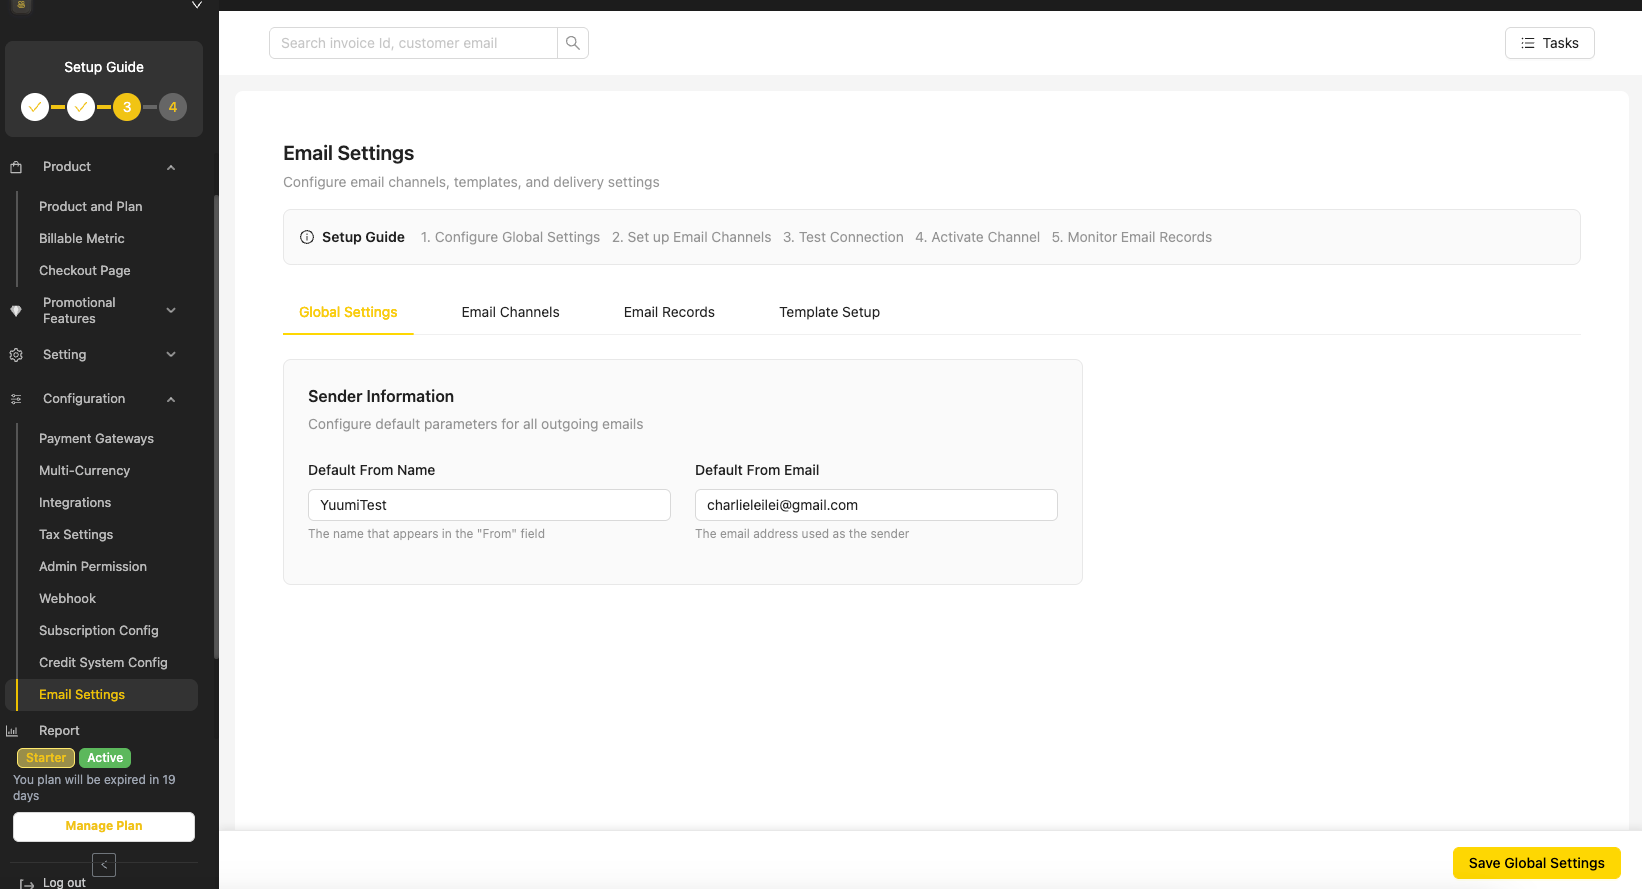
- Default From Name: Enter your business name or a specific department (e.g., “UniBee Team”).
- Default From Email: The email address that will appear as the sender.
2. Configure Email Channels
Select the service used to deliver emails. You can choose between SendGrid (API-based) or a custom SMTP server.\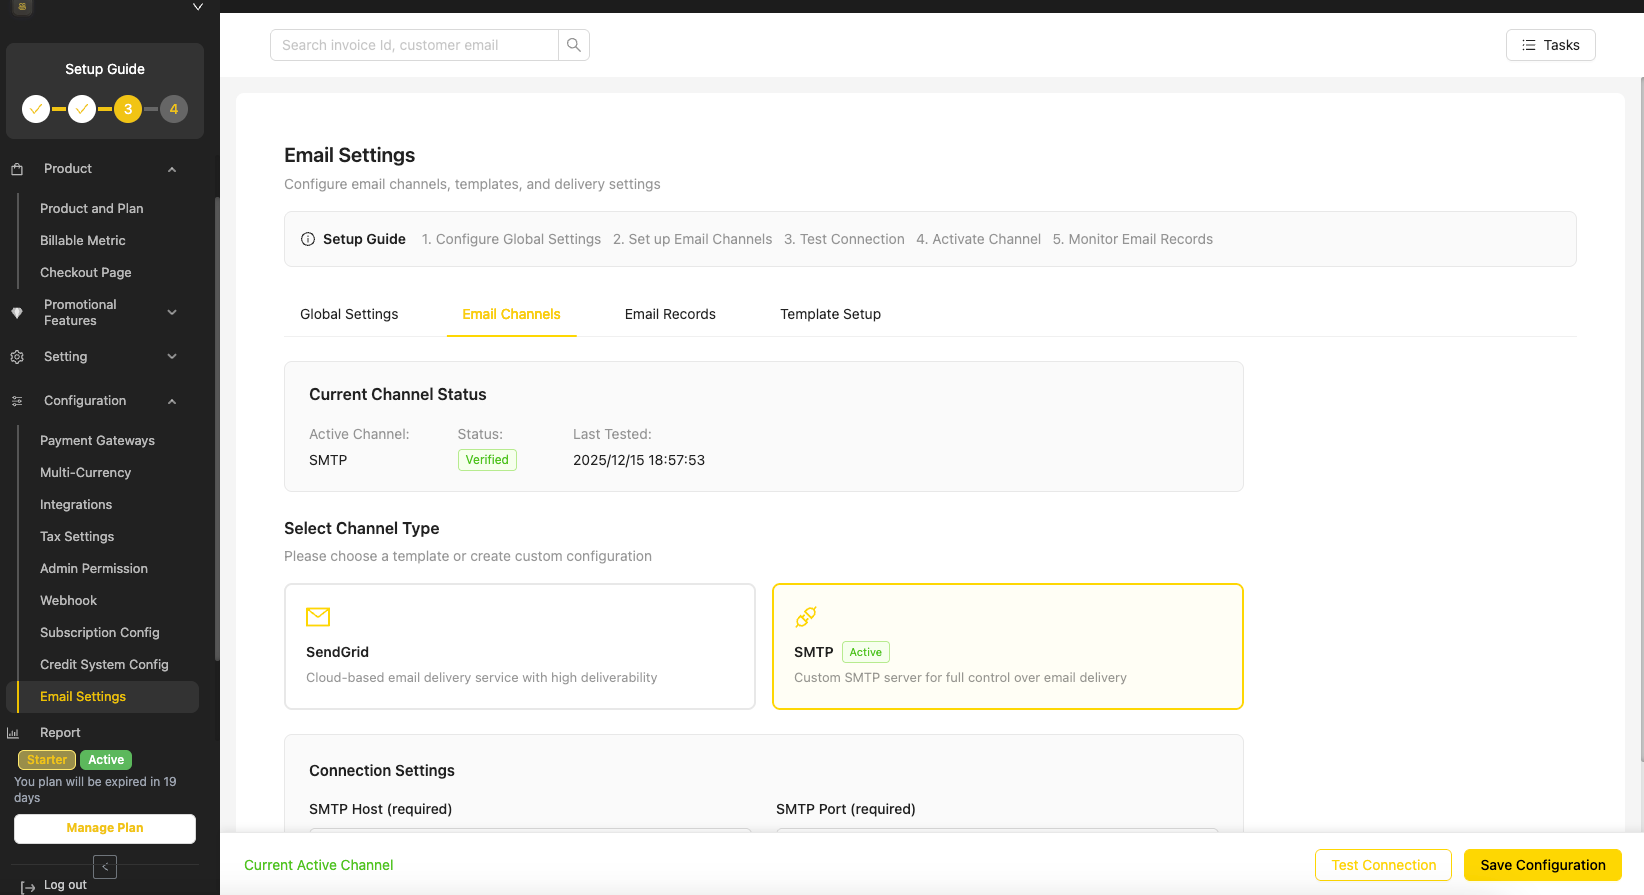
- Select the SMTP card.
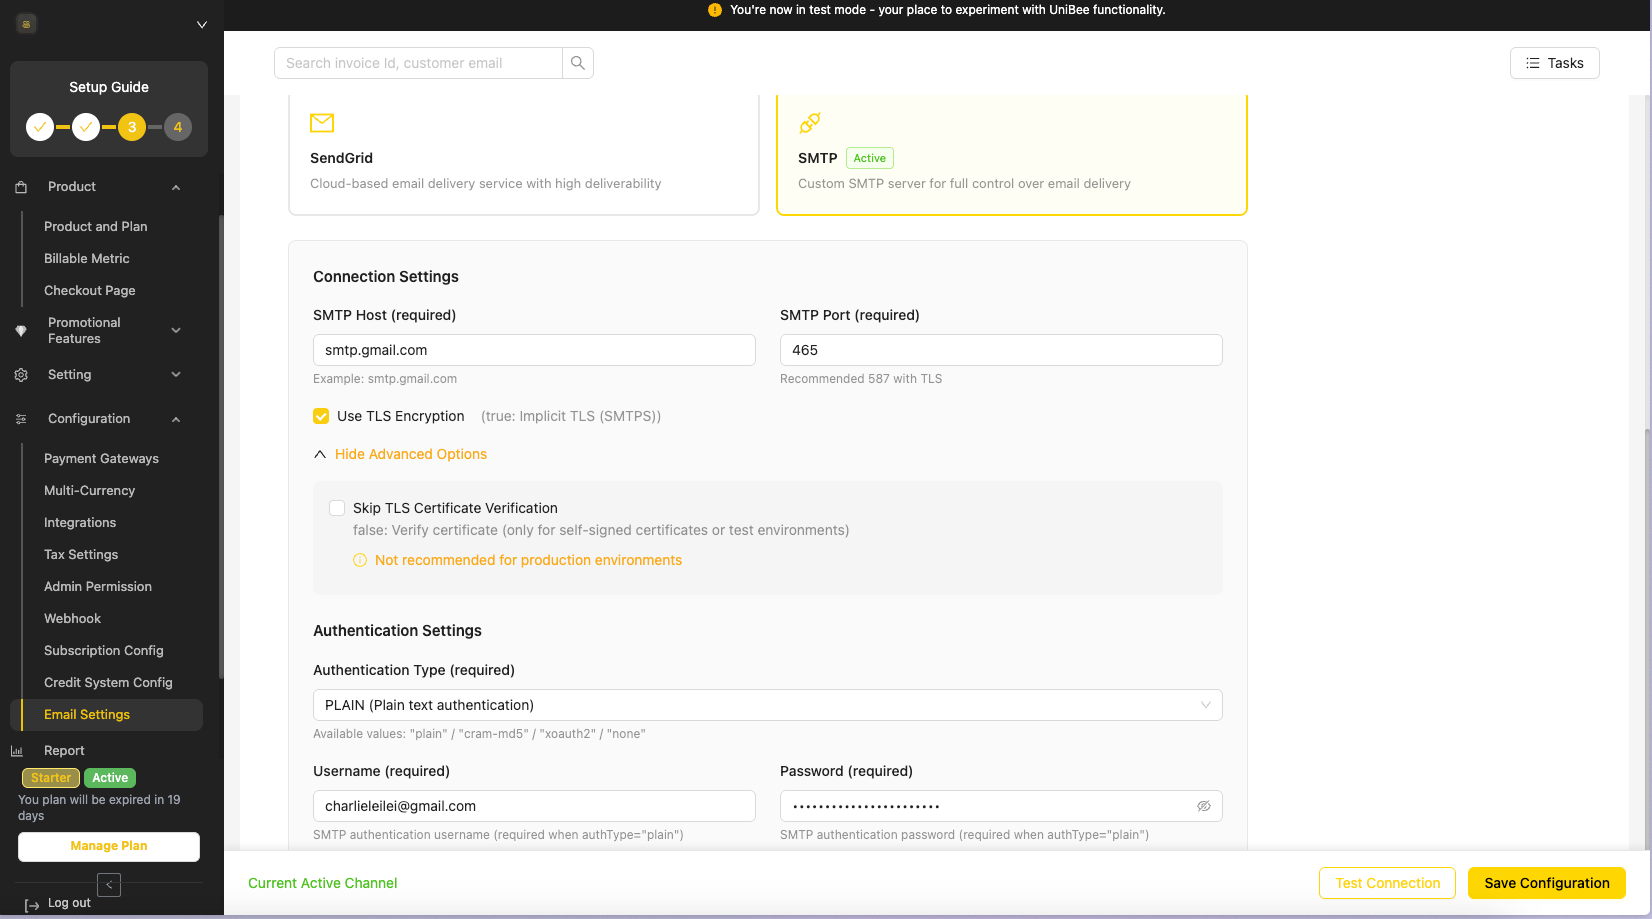
- SMTP Host: Enter your provider’s server address (e.g.,
smtp.gmail.comfor Google). - SMTP Port: Usually
465(with SSL/TLS) or587. - Encryption: Check “Use TLS Encryption” for security.
- Authentication: Enter the username (usually the email address) and the App Password/API Key provided by your email host.\
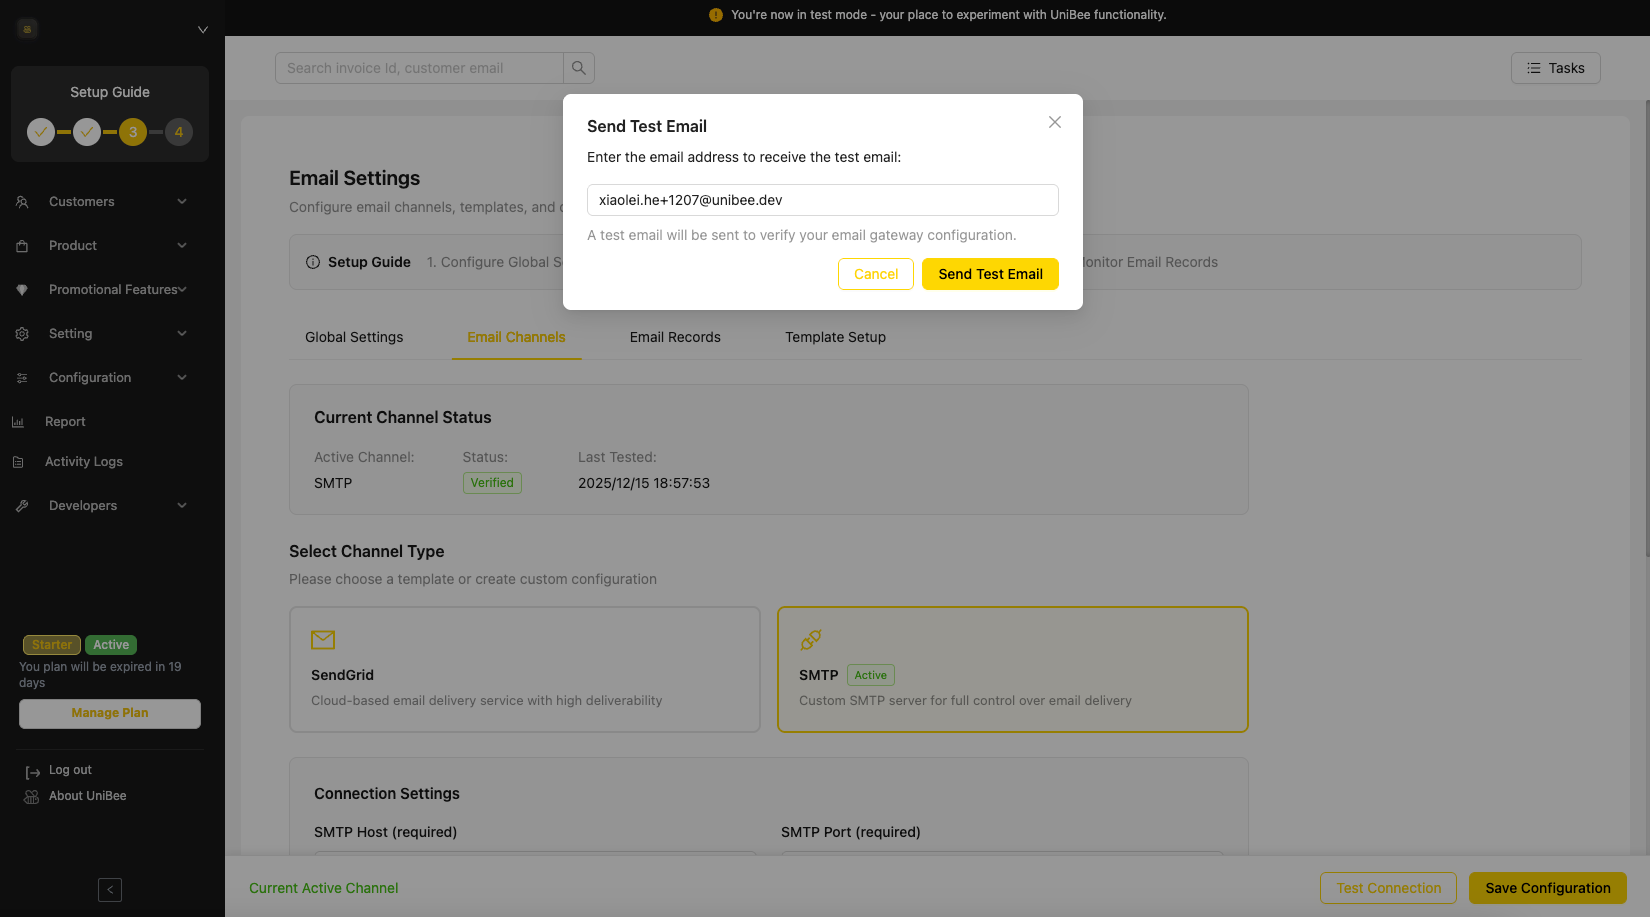
3. Test Your Connection
Before saving, it is crucial to verify that your credentials are correct and the server can send emails.- Click the “Test Connection” button at the bottom right.
- Enter a valid email address in the popup to receive a test message.
- If successful, the status will show as “Verified”.\
4. Template Setup & Customization
Customize the content of the emails sent to users. You can edit the subject line, body text, and use dynamic variables.\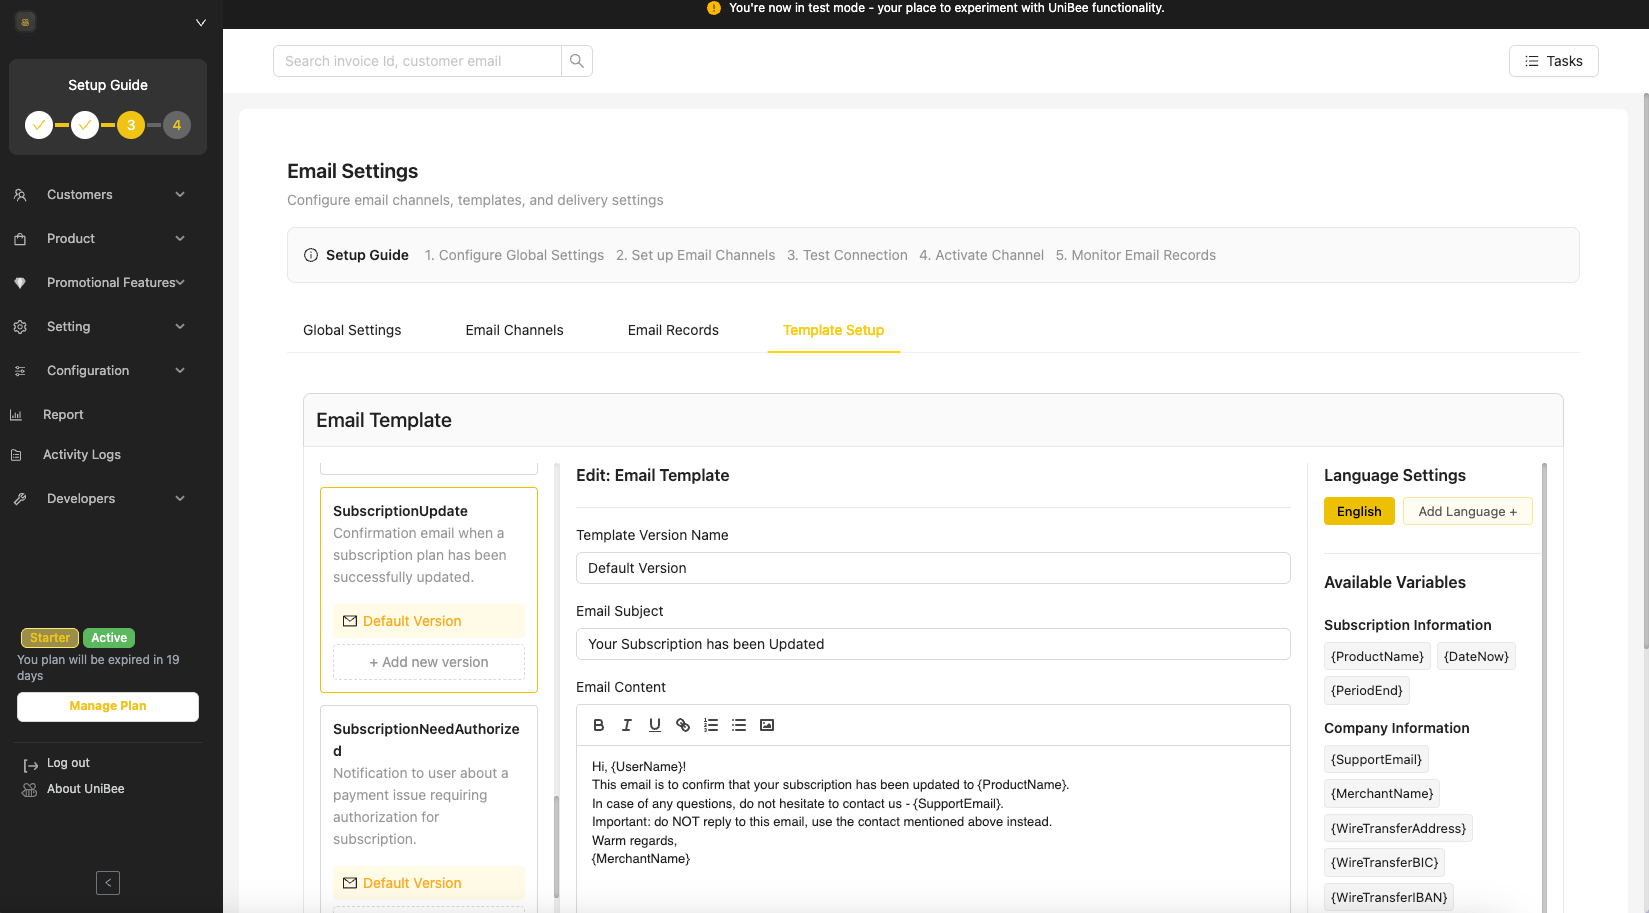
- Variables: Use the tags on the right (e.g.,
{UserName},{ProductName}) to dynamically insert user data. - Formatting: Use the rich text editor to add bold text, lists, or links.
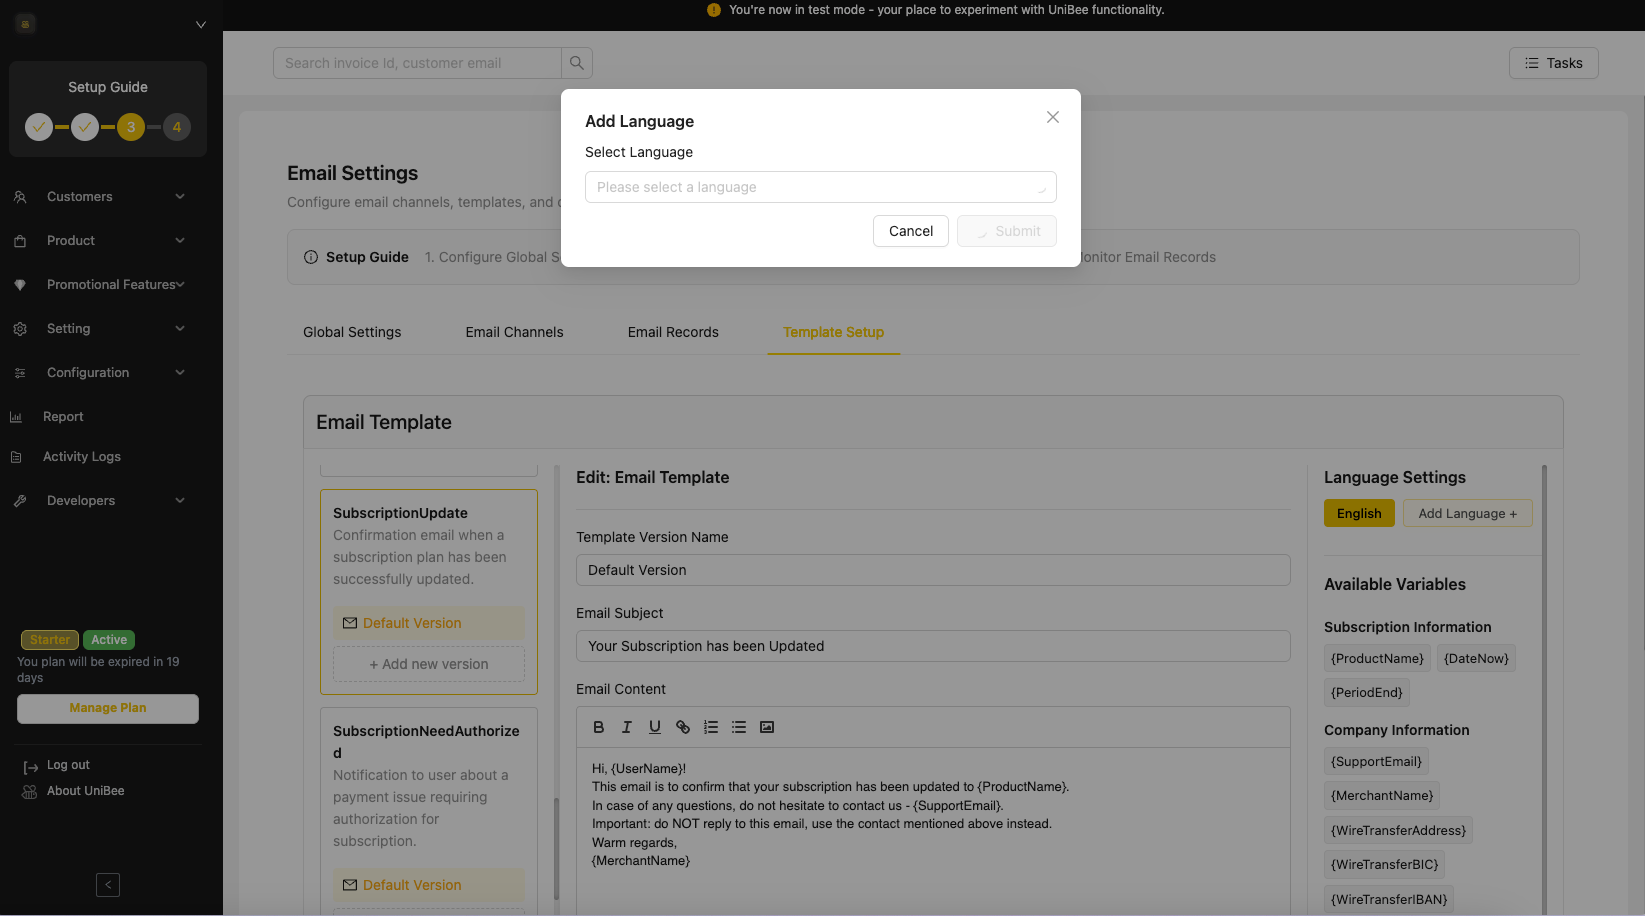
- Multi-language Support: Click “Add Language” to create translated versions of the same template for different regions.\
5. Monitor Email Records
Once your system is live, use the Email Records tab to track performance.\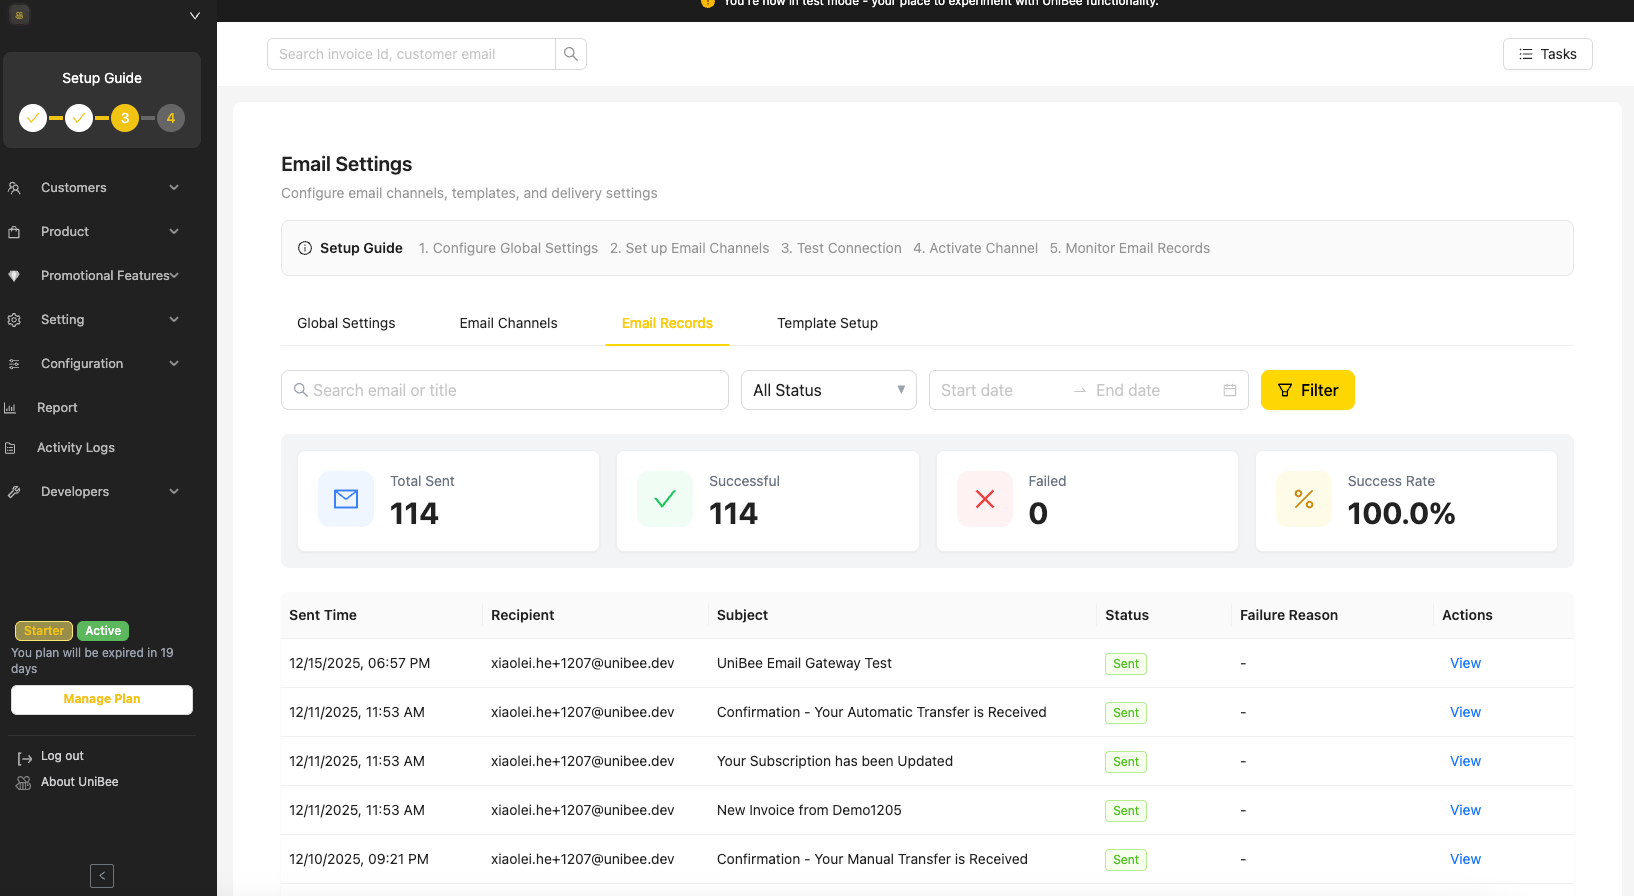
- Status: Quickly see if emails are Sent or Failed.
- Filter: Search by email address or date range to find specific logs.
- Actions: Click “View” to see the exact content sent to a specific user.